Camera Ready
We Build Your Layout
Camera Ready Art is better understood if you think “scanner ready laser print.” Essentially, you are mailing us a black/white hardcopy from a laser printer and we are scanning it in and placing that into your layout for you.
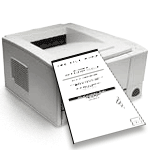
You print it and mail it to us
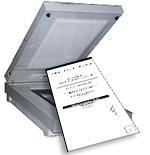
We scan it and place it
Basic guidelines for getting the best possible results:
- Use a good quality printer (laser printer preferred)
- Black/white only (please do not use shades of gray)
- Be sure that text, borders, and logos are sharp and clear
The following information explains quality camera ready art in more detail.
Getting the Best Quality
Be sure that your text, borders, and logos are sharp, clear, and black/white. This can typically be determined by scrutinizing your hardcopy on your end before mailing it to us.
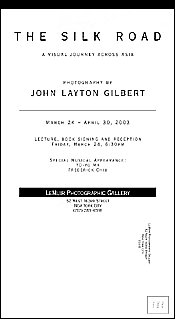
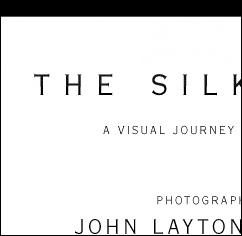
Detail of card: Notice that text is sharp, clear, black/white.
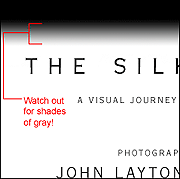
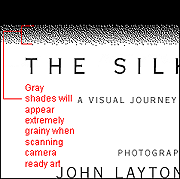
Avoid Shades of Gray Although you may be tempted to introduce gradients or screened images into your layout, please be aware that we scan all camera ready art as 1,200 dpi Bitmap TIFF’s. This gives you the best possible output for black/white text and logos. If you submit camera ready art with shades of gray, however, you risk having those shades become severely pixelated (grainy).
Need more help?
Find detailed information about setting up your files.
Approval Method
Bitmap Resolution
Border
Color Overview
Color Profiles
Color Quality
Cropping
Digital Camera
Digital Camera Media
Duplicate List Records
File Compression
Help us achieve correct color
ICC Printer Profiles
JPEG Compression
List FAQ
Mailing List Formats & Specifications
Monitor Calibration
Screen and Print Resolution
Setting Color Modes
Setting Grayscale Mode
Standard Font Set
Word Count

